
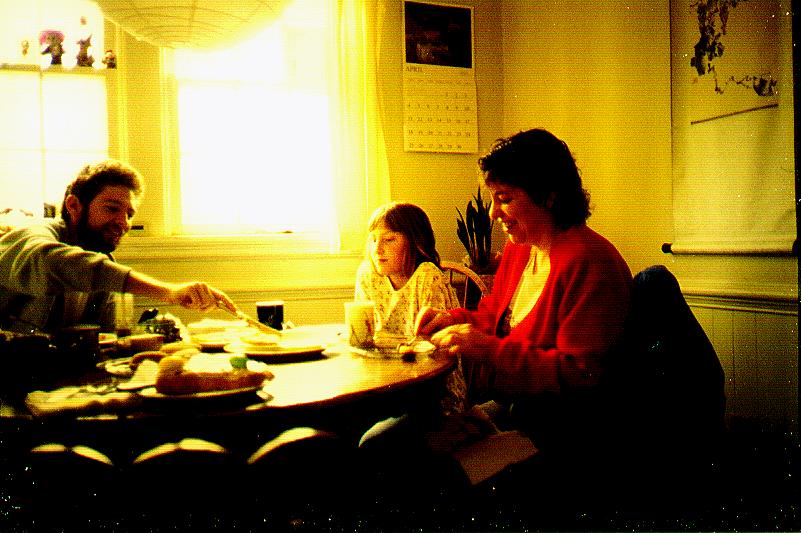
These images are of the same "difficult" slide scanned at 600 dpi with the backlight, but this time with the ScanWizard "Shadows and Highlight" tool set according to Wayne Fulton's advice. The second and third images are also sharpened, using PhotoImpacts two different sharpening tools.
In the top (unsharpened) image, the colors appear
much richer than in the previous scans without using the Shadows and Highlight
tool, and although the contrast is more pronounced, the detail of the shaded
sides of the faces is still reasonably good--better than when I used the
Shadows and Highlight tool to scan this slide without the backlight.
Here is the same image, but sharpened with the
AutoFocus control at the default setting (the middle of 5 choices).
It's noticeably sharper than the above image.

And the same scan again, but this time using PhotoImpact's
Sharpen default setting (the middle of three). It's not much different
from the previous image, although when you look at it magnified it's a
little less sharp, but also less pixelated.
In both sharpened images, you can see some bits
of lint--the white flecks--that became much more noticeable in the
process. There are also faint horizontal lines that were produced
during the scan by interference between the two light sources, which evidently
were slightly out of phase. They're not objectionable here, but further
sharpening of the image by either method made them a little too obvious.